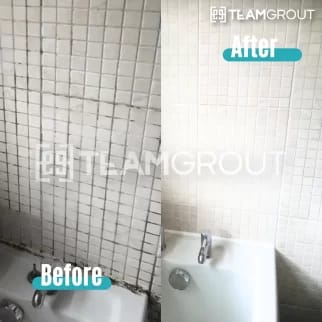
To remove mould from shower caulking, first check whether the bead is still firmly attached and free of gaps. If the growth is only on the surface, clean it gently with a product suitable for the caulking and nearby tile, follow the label, rinse, and dry the joint. If dark marks remain inside the silicone, the caulking lifts, or the mould keeps returning, remove the old bead completely and replace it rather than repeatedly scrubbing or covering it. Team Grout uses that clean-or-replace distinction when assessing shower joints in Toronto and the GTA.
The result you want is more than a whiter line. You want a shower that looks refreshed, has sound wet-area joints, and is easier to maintain. Cleaning can improve an intact bead; it cannot reconnect a separated one. A fresh bead is not a fresh start if the failed caulk stays underneath.
There is also an important limit: mould on a visible joint does not tell you what is happening behind the tile. If you notice a persistent damp smell, water outside the shower, recurring cracks, or rapid regrowth after drying and repair, the moisture source may need further investigation. Surface treatment cannot repair a hidden leak or failed underlying waterproofing.
What is mould on shower caulking?
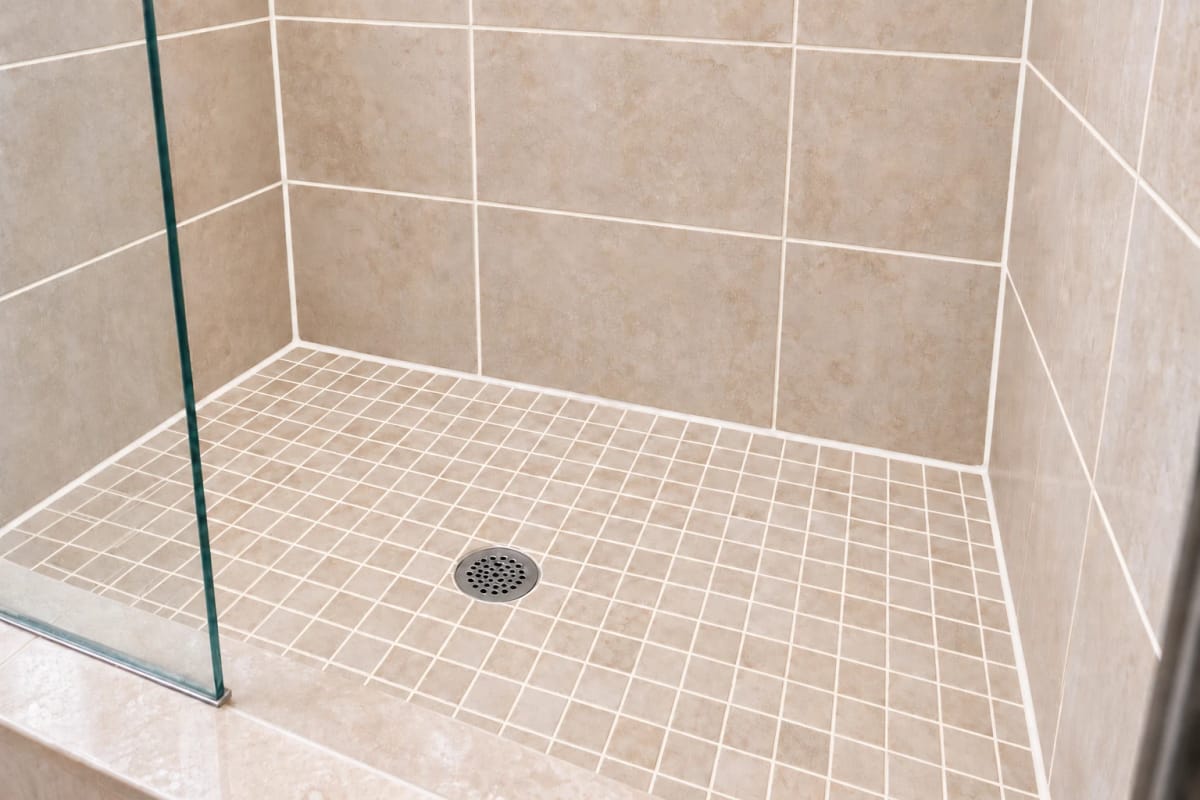
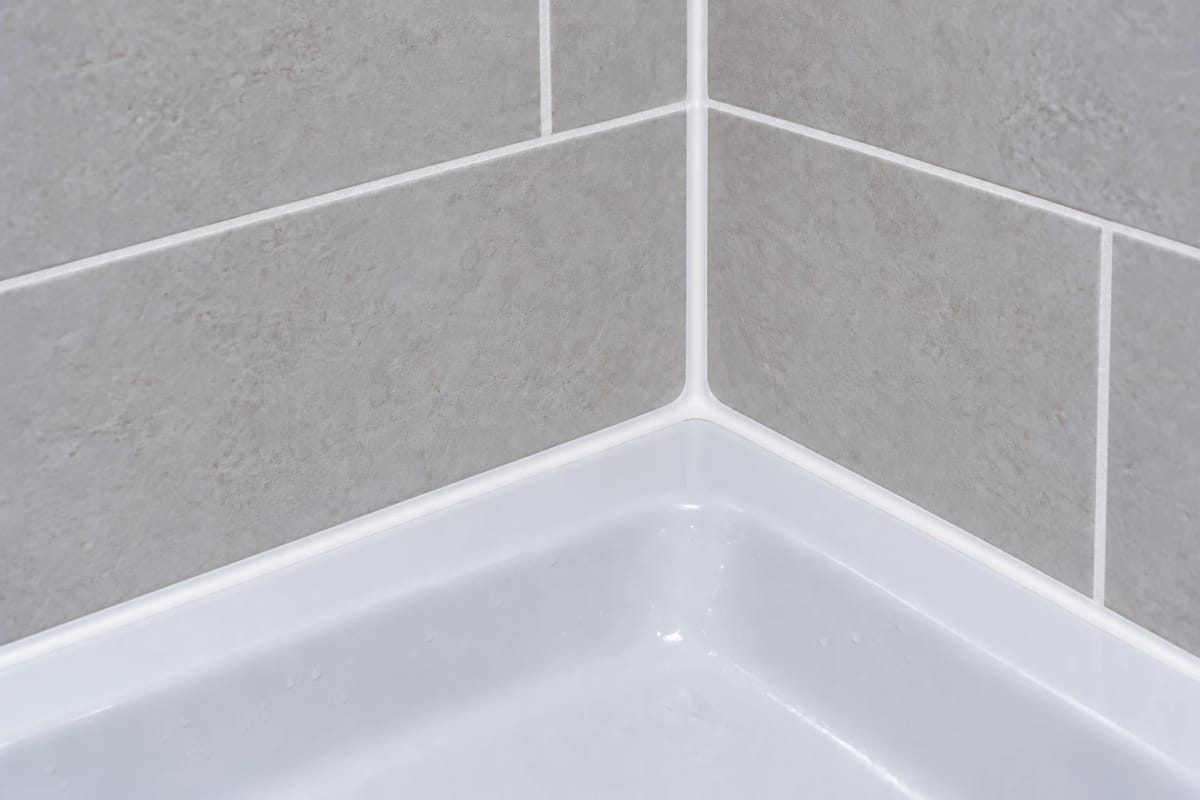
Shower caulking is the flexible sealant installed where surfaces meet and may move relative to each other, such as a tiled wall meeting a tub or shower base. You may also see it in vertical corners, around niches and ledges, and at suitable glass or door-frame joints. These are places where water and soap residue can linger, particularly when the bathroom stays humid after use.
Dark marks along a bead can be surface buildup, staining within the caulking, or growth visible beneath a lifted edge. Appearance alone is not a reliable test of whether the joint still seals properly. Look at both the mark and the material: does the discolouration come away, and is the caulking still continuous and bonded to both sides?
Our practical rule: Clean an intact bead with light surface contamination. Replace a failed bead or silicone with persistent internal staining. Investigate repeated dampness rather than assuming another round of cleaner will solve it.
Check the joint before choosing a cleaner
Good tile can sit beside bad caulking. Take a close look in good light, especially at wall-to-base joints, corners, and the places where water pools. You do not need to identify the mould species to make a useful first decision about the condition of the joint.
Signs a gentle clean may be enough
- The bead appears firmly attached along both edges, without lifting or peeling.
- There are no visible gaps, splits, or missing sections.
- The material still feels sound, rather than brittle, crumbly, or unusually soft.
- The dark material looks confined to the surface and responds to gentle wiping.
- There is no unexplained dampness or persistent smell nearby.
These signs make cleaning a reasonable first attempt, not a guarantee of a perfect colour match. A stain may remain even after the removable surface material is cleaned. If the seal is sound but the appearance does not improve, do not escalate to harsh scrubbing that damages the bead.
Signs replacement is the better answer
- Black marks appear within translucent silicone or beneath an edge you can see lifting.
- The bead pulls away from the tub, tile, shower base, or glass.
- It has cracks, gaps, peeling sections, or areas that trap water.
- It is deteriorating, or the same marks return soon after careful cleaning and drying.
When the bead has separated, it is no longer a cleaning problem alone. The joint needs proper preparation and a new seal. Our related article on why all the old caulk should be removed before recaulking explains why a neat-looking layer over failed material is not a sound shortcut.
How to clean light surface mould from sound shower caulking
For a small, accessible patch on otherwise intact caulking, take a measured approach. Gather a suitable bathroom cleaner, a soft cloth or soft nylon brush, clean water, and a towel for drying. Read the product label first, including its surface-compatibility and safety directions. If the surrounding tile is natural stone, check that the cleaner is appropriate for that stone as well as for the caulking.
1. Ventilate and clear the area
Run the bathroom exhaust fan and open a window if practical. Move bottles and other items away from the affected joint so you can see its full length and avoid splashing them. Wear gloves and eye protection appropriate to the cleaner. If mould is extensive, materials are being disturbed, or anyone in the household is particularly sensitive to exposure, stop and seek appropriate professional advice rather than treating this as routine wiping.
2. Use one compatible cleaner, exactly as directed
Apply a bathroom product labelled for the surface and task, following its instructions for amount, contact time, and rinsing. Do not combine cleaning products or improvise a stronger mixture. In particular, bleach must never be mixed with other cleaners such as ammonia or vinegar. Stronger is not automatically better for the caulking, nearby grout, or tile finish.
3. Wipe or brush gently along the bead
Work along the seal rather than digging a brush into its edges. Rubbing hard enough to lift an edge turns a surface-cleaning job into a seal problem. If a section moves, separates, or exposes a dark joint underneath, stop treating it as intact caulking.
4. Rinse, dry, and reassess
Remove cleaner residue as its label directs, wipe the joint dry, and keep air moving so the area can dry. Check again in good light. If the marks wipe away and the bead remains sound, maintain it with regular, material-compatible cleaning and better drying after showers. If staining remains inside the bead or the edge is failing, replacement is more useful than repeated chemical treatments.
Cleaning removes what you can reach. It does not establish that anything hidden behind a joint has been removed. The U.S. Environmental Protection Agency’s guidance on mould and moisture similarly puts moisture control alongside cleanup, which is particularly relevant when a shower joint repeatedly gets wet.
Why black stains sometimes survive cleaning
A shower cleaner acts on accessible material. It may remove soap residue and surface growth but leave a dark shadow in cured silicone. It also cannot reach beneath caulking that has lost adhesion. That is why a bead can look better immediately after cleaning yet remain discoloured or develop visible growth again.
Do not confuse two different outcomes: an improved appearance and a sound seal. A clean bead that has pulled away from the tub still needs attention. Conversely, a firmly attached bead with a slight residual stain is not automatically evidence of a concealed leak. The surrounding conditions, including dampness, grout condition, and how quickly the problem returns, help determine the next step.
Humidity can also make an otherwise well-finished shower harder to maintain. Water left on horizontal ledges, a shower door that keeps a corner wet, or inadequate drying after use can all favour recurrence. For a closer look at the moisture side of the problem, read why mould keeps returning to your shower.
How failed shower caulking is replaced
If the silicone is mould-stained internally, cracked, or loose, the effective repair is to replace the failed material. This is more involved than running a caulking gun along a dark line. The finish is what you see; the preparation is what makes that finish worth having.
- Assess the full joint and adjacent surfaces. Identify which corners and wall-to-tub, wall-to-base, or other applicable joints have failed. Check whether nearby grout or tile also needs attention, since recaulking alone cannot repair cracked grout.
- Remove the old silicone completely. Leaving deteriorated caulking underneath can conceal contamination, prevent good adhesion, and keep the original defect in place.
- Prepare the exposed joint. Scrape away residue, clean and treat affected accessible surfaces as appropriate, and rinse according to the chosen products. A treatment is preparation, not proof that hidden growth has been removed.
- Dry before installing the new bead. Moisture and residue at the bonding surfaces can undermine the result. If the joint remains wet or reveals an unexpected problem, that condition needs attention before it is covered.
- Apply and tool compatible, mildew-resistant shower caulking. A continuous, neatly finished bead restores the surface joint where replacement is suitable. Mildew-resistant means resistant, not immune to future growth.
- Allow the specified cure before wet use. The correct return-to-use time depends on the sealant and job conditions. Follow the technician’s instructions, not an unrelated grout-sealer cure time.
This is the approach we take in Team Grout’s Toronto and GTA shower caulking replacement work: complete old-silicone removal, cleaning and drying of the joint, then installation of a new wet-area bead. A focused caulking replacement is described as taking a few hours for the work itself, with the shower typically reusable the next day, subject to the sealant’s specified cure and the condition of the joint. Scheduling and assessment timing depend on location, suitability, and availability, so the proposed appointment and work plan should be confirmed before you make arrangements to leave the shower unused.
Cleaning, replacement, or a wider shower restoration?
Not every mouldy line calls for a full shower makeover. We look at the caulking, tile, grout, and shower floor as related parts of the wet area, then separate the work each part actually needs. That matters because a sound tile can often stay in place, while cracked grout and failed caulking each require their own remedy.
| What you see | Likely starting point | What it cannot fix |
|---|---|---|
| Light surface marks on firmly bonded caulking | Careful, compatible cleaning and drying | Stains within silicone or a hidden moisture source |
| Loose, split, peeling, or internally stained caulking | Complete removal and caulking replacement | Cracked grout or failed waterproofing behind tile |
| Sound grout and tile with widespread soap scum or mineral buildup | Shower deep cleaning, with suitable surface care | Failed caulking or missing grout |
| Failed caulking plus cracked grout and heavier buildup | Assessment for combined shower restoration | A concealed leak or structural damage |
For suitable showers needing more than a focused joint repair, restoration can combine deep cleaning, treatment of affected accessible surfaces, grout repairs, colour sealing where appropriate, and replacement of failed caulking. Most residential full shower restorations are described as one-day work, followed by the relevant sealer and caulk curing. The technician gives the job-specific time before the shower can get wet again. If the concern is only deteriorated caulking, a larger restoration may not be necessary.
Clear grout sealing, grout colour sealing, and caulking are not interchangeable. A clear penetrating sealer can help suitable porous grout resist staining, but it does not waterproof a shower assembly or repair a gap at the tub. Colour sealing addresses compatible grout appearance and protection, not failing silicone. Getting the tile, floor grout, and caulking assessed separately helps avoid trouble down the road without buying work the shower does not need. For a more detailed breakdown, see how cracked shower grout and mouldy caulking can be addressed together.
What a real shower project can tell you
Customer accounts are useful when they describe the work, not just the final shine. In a Google review, Nick G described a shower restoration in which the tiles were refreshed, grout was filled, and the shower was recaulked. That is a combined scope, so it would be misleading to attribute the whole change to a cleaning product alone.
“Team Grout did an amazing job restoring my shower. Hats off to Antonio for doing a amazing job restoring it. It looks like it was just installed today. The tiles shine, the grout was filled in and it was re-caulked. Thank you! Would definitely recommend.”
Nick G, Google review
A more focused example comes from Cynthia C, who wrote: “Alexia did a great job with recaulking and deep clean of our bathroom! Grateful she took the care to do a proper job!” Their experiences show why scope matters. One shower needed grout filling as part of restoration; another review specifically mentions deep cleaning and recaulking. Neither review means every mouldy shower needs exactly the same work.
Best practices to help keep new or cleaned caulking in good shape
Even good caulking meets water every day. The aim is to reduce how long moisture and residue sit against it, while noticing a failing joint early.
- Help the shower dry after use. Run the exhaust fan, clear standing water with a squeegee or cloth, and pay attention to ledges and corners that stay wet.
- Use cleaners suited to every nearby material. A product that is acceptable for a ceramic surround may not be suitable for natural stone. Follow the cleaner’s directions and avoid aggressive scrubbing at the edges of the bead.
- Look at the seal, not just its colour. During routine cleaning, check for lifting, cracking, or gaps at wall-to-base joints and vertical corners.
- Respect curing instructions. After replacement, keep water off the new caulking until the specified wet-use time. An attractive bead can still be compromised if it is put into service too soon.
- Pay attention to repeat problems. If mould returns despite cleaning and drying, or a musty smell persists, investigate the moisture source. Applying another surface treatment without understanding the cause can postpone the useful repair.
These habits support easier maintenance; they cannot promise that mould will never return. A newly renovated shower still needs appropriate cleaning, drying, and attention to its joints. New shower, same moisture.
What will it cost, and what do you need to do?
There is no responsible fixed price for mouldy shower caulking based on a black line alone. For focused replacement, the proposed price depends on the length and location of the joints and what becomes apparent about the underlying condition. A shower that also needs grout repair, deep cleaning, or broader restoration has a different scope. Two quotes can use the same service name while describing very different preparation underneath.
Before comparing prices, ask what each proposal includes: complete failed-caulk removal, exposed-joint cleaning and drying, treatment of affected accessible surfaces where appropriate, new caulking, any grout work, and curing instructions. If damage or persistent moisture suggests a problem behind the finished surfaces, surface restoration should not be presented as a repair for that hidden issue.
How to prepare for an assessment
- Have your name, contact details, location, and a description of the affected shower ready.
- Identify whether the bead is loose, cracked, or stained inside, and note any recurring smell, water outside the shower, or repeated regrowth.
- If useful, gather up to five clear photos, including a wide view of the shower and close-ups of the affected joints and any damaged grout.
- For a video appointment, be ready to show the joints and surrounding surfaces in good light. For an on-site visit, make the shower accessible.
- Before scheduled work, move toiletries and loose items out of the area and plan for the curing period the technician specifies.
Photos help us prepare, but they do not always replace a video review or on-site assessment. Submitting an enquiry starts a review and follow-up; it is not the same as having an appointment confirmed or receiving an instant exact price from limited information. We use the initial details to determine whether a free video quote or an on-site assessment is appropriate for your location and the condition shown, then confirm the appointment details with you. The assessment answers what your shower appears to need. The written quote sets out the proposed work and its price before you decide whether to proceed. You should not have to diagnose the joint yourself or repeatedly explain the same concern at each stage.
Frequently asked questions about mouldy shower caulking
Can I remove black mould from silicone without replacing it?
Sometimes. If the silicone is intact and the marks are only on its surface, a suitable cleaner used according to its label may remove them. If dark marks remain within the bead or appear beneath a lifted edge, cleaning will not restore the material or its adhesion. Replacement is the more appropriate next step.
Should I put new caulking over the old bead?
No. Covering failed silicone leaves the old material and any trapped residue underneath, and the new bead may not bond properly. Remove the failed caulking, prepare and dry the exposed joint, then install new caulking where the surfaces are suitable.
Will bleach make mouldy caulking white again?
It may affect accessible surface staining, but it cannot repair a split seal or reliably remove discolouration inside cured silicone. Use any cleaner only where compatible with the caulking and surrounding surfaces, follow its label, ventilate, and never mix it with other chemicals. If the bead is failing, replacement addresses the material problem that cleaning cannot.
Does steam cleaning remove mould from inside silicone?
No. Steam cleaning can help with suitable tile and sound grout, but it does not rebuild cracked grout or remove mould embedded inside old silicone. For a closer look at where the method fits, see whether steam cleaning works on grout.
How long does professional recaulking take, and when can I shower?
A focused shower caulking replacement is generally a few hours of work. The shower is typically reusable the next day, subject to the chosen sealant’s curing requirements and the technician’s instructions. If grout repairs, cleaning, or sealing are also included, ask for the return-to-use guidance for the complete scope.
Will mould-resistant caulking stop mould permanently?
No. It is intended to resist growth, not make a wet joint maintenance-free. Drying the shower, using compatible cleaners, and addressing leaks or repeated dampness still matter.
When is the problem bigger than the caulking?
Water outside the shower, a persistent damp smell, repeated cracking, or mould that returns after proper surface work can point to a moisture issue requiring further investigation. A new surface bead cannot establish that hidden mould has been removed or fix failed waterproofing behind the tile.
Get a clear answer before you replace more than necessary
If the bead is sound, start with careful cleaning and drying. If it is separated, cracked, or stained through, replace the failed caulking rather than covering it. If the grout and shower floor also show damage, assess those surfaces before deciding on the full scope.
Failed caulk? Find out whether caulking replacement is all your shower needs. Request a free video quote or on-site assessment with Team Grout, depending on suitability, location, and availability, by calling 289-277-0228 or emailing info@teamgrout.ca. Tell us what you see, have the affected joints ready to show, and we can follow up to confirm the assessment and prepare a written quote for the work proposed. That is a more useful next step than guessing which product or service to buy.