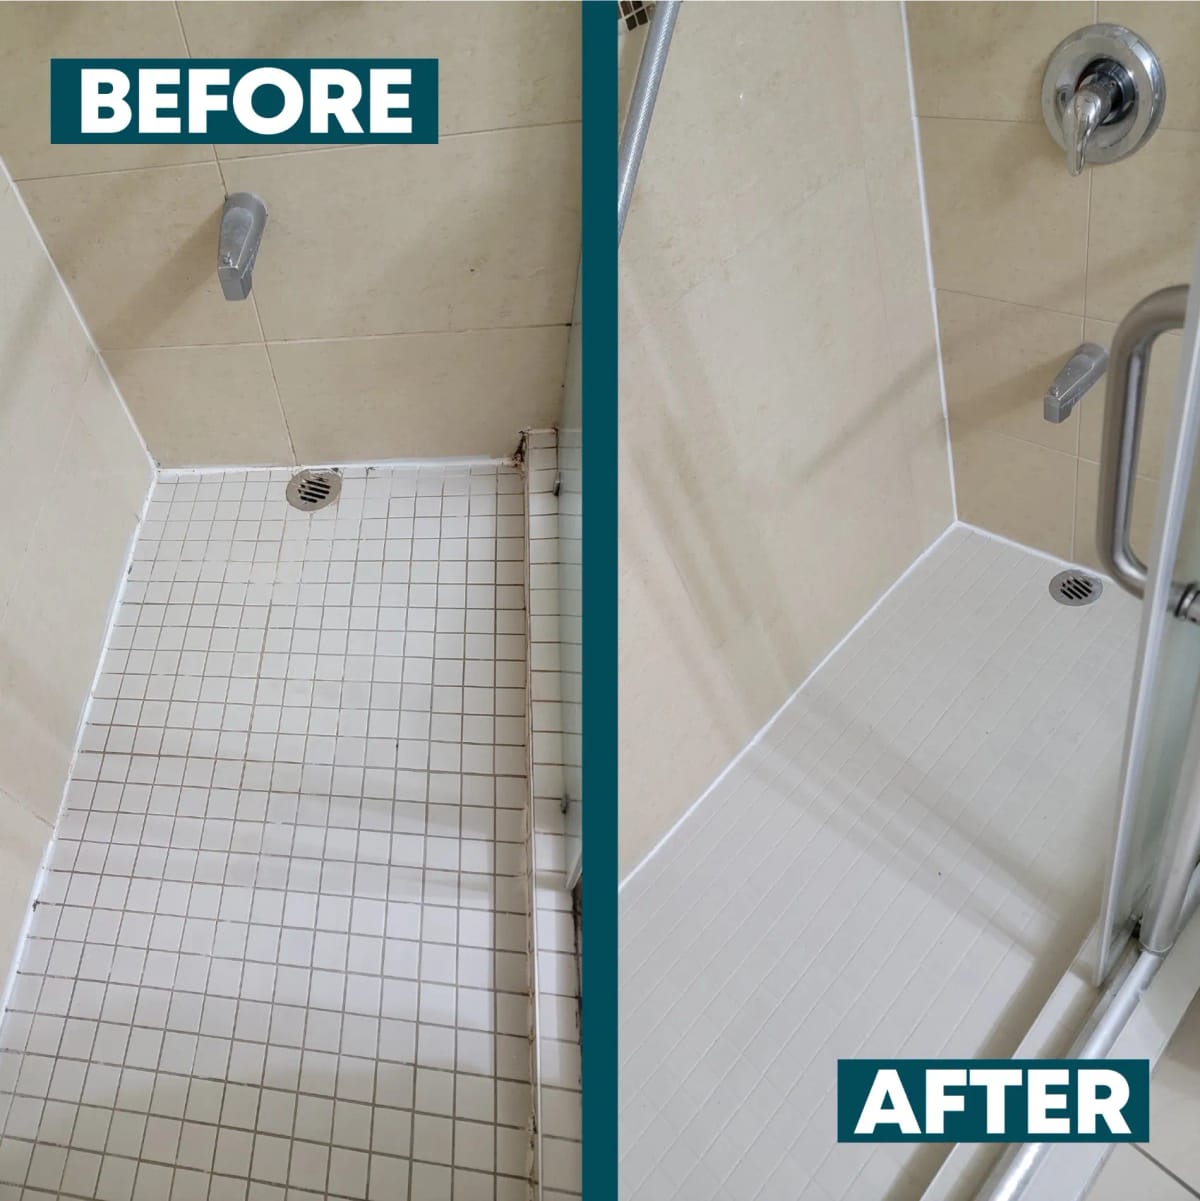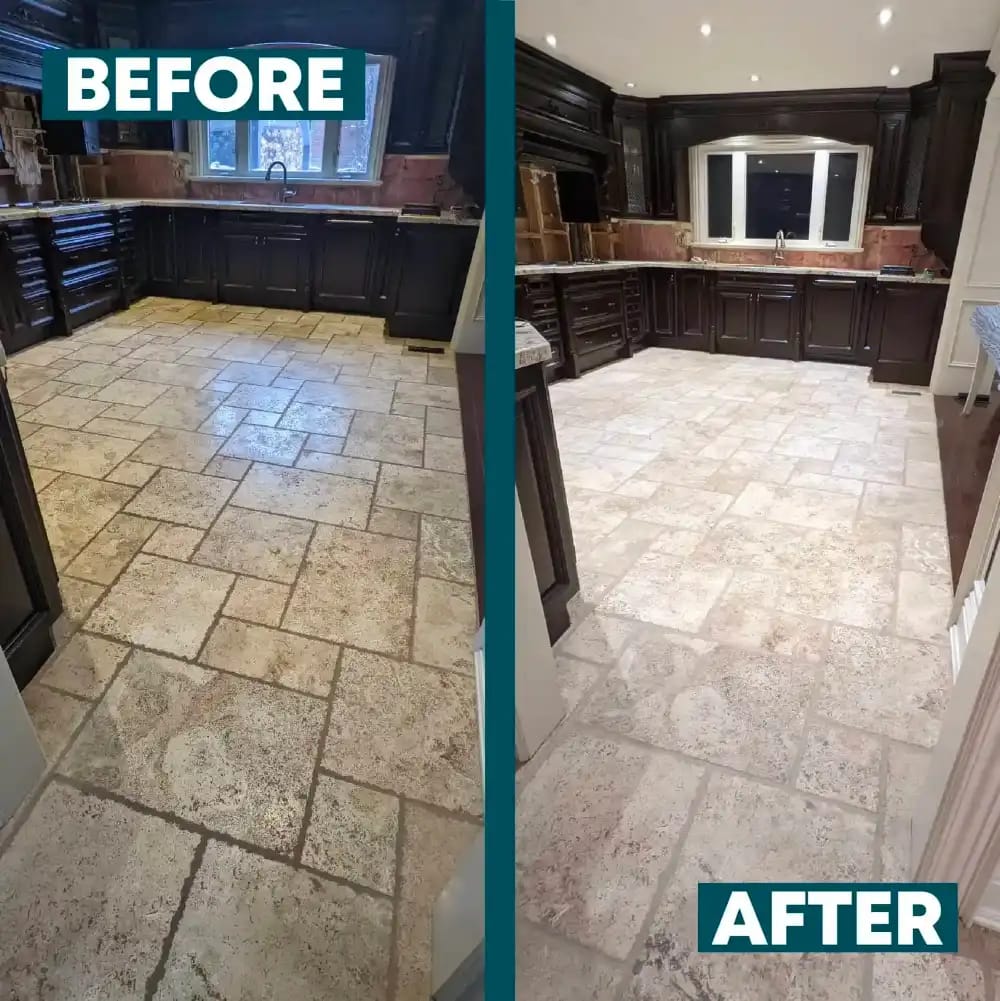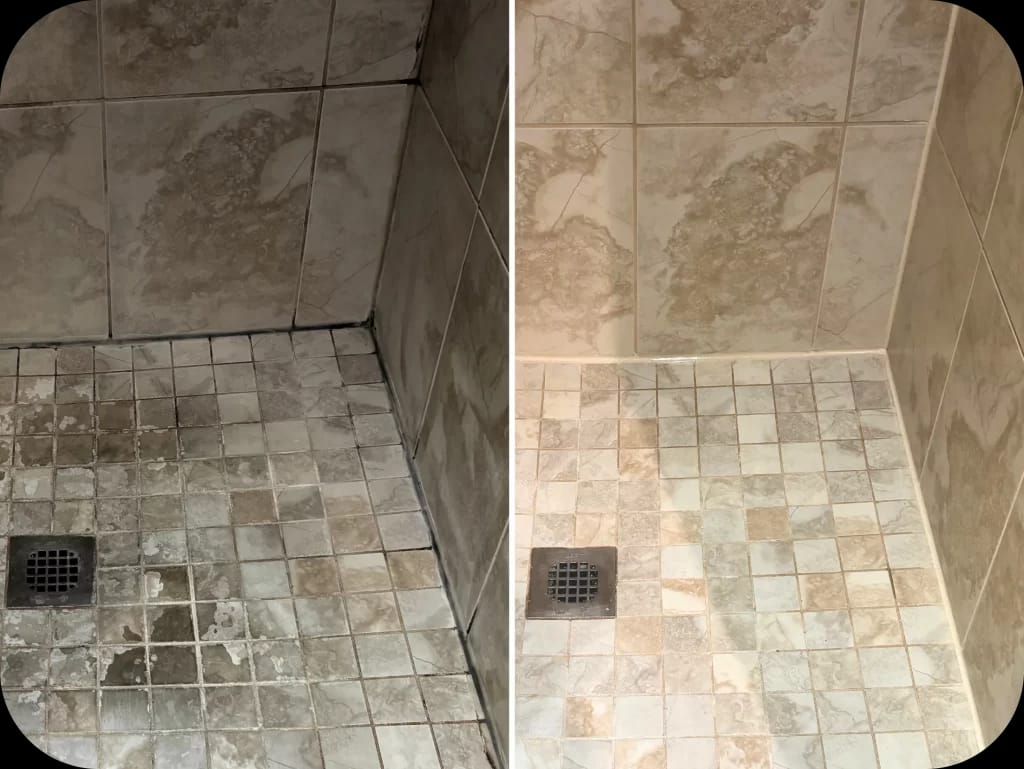
A professional caulking-replacement technician should remove the old, failed caulk completely before recaulking a shower or tub. Team Grout does exactly that: we remove the old silicone, clean and dry the exposed joint, then apply and tool new waterproof, mildew-resistant caulking. A fresh bead isn’t a fresh start if the failed caulk stays underneath.
In Toronto and the GTA, homeowners can ask us to assess whether their shower needs caulking replacement alone or a broader restoration. That distinction matters. New caulk can refresh the appearance and seal the joints being treated, but it cannot repair cracked grout, a hidden leak or failed waterproofing behind the tile. The useful first question is not simply, “Who will put down a new bead?” It is, “Who will remove what has failed and check what the new bead needs to bond to?”
What does complete old-caulk removal mean?
Complete removal means taking out the old bead and addressing the thin silicone residue left along the joint edges. Pulling away a loose strip may look like progress, but residue can remain on the tile, tub, shower base or glass. Before replacement caulk goes in, the exposed joint needs to be scraped as appropriate, cleaned, treated for affected accessible surfaces where needed, and dried.
The distinction is practical: new caulk needs contact with suitably prepared surfaces, not a layer of ageing silicone, soap residue or moisture. Covering a separated bead can also conceal a gap that still needs attention. That is why we treat removal and preparation as part of the recaulking job, rather than as optional extras.
Complete removal does not mean removing sound tile or automatically replacing every grout line. Caulk is generally used at applicable joints such as shower corners and wall-to-tub or wall-to-base transitions. Grout occupies the spaces between tiles. A technician should assess both, then propose the work each material actually needs.
Why putting new caulk over old caulk is a poor shortcut
When a bead is peeling, cracked or separating, applying more material on top does not remove the reason it failed. The old surface may be loose, contaminated or damp. Even if the fresh layer looks tidy from a distance, it can leave an uneven joint and make it harder to see what is happening underneath.
There is also a difference between surface discolouration and mould embedded in silicone. Cleaning may improve a mark on the surface, but mould inside the old bead generally calls for replacing that bead. Mould-resistant replacement caulking is an appropriate material for a wet area; it is not a promise that mould can never return. Moisture conditions and routine care still matter.
Ask the person quoting the job whether all the old caulk and remaining residue will be removed from the joints included in the quote. If the proposal says only “apply caulk,” ask what happens first. Two quotes. Same service name. Very different work underneath.
How a properly prepared shower joint is recaulked
1. Assess the caulk and the surrounding surfaces
We start by looking at where the bead has failed and whether the nearby tile and grout are sound. Relevant areas can include vertical corners, the wall-to-tub or wall-to-base joint, the shower-base perimeter, niches, ledges and applicable glass or door-frame gaps. Not every joint in a bathroom needs the same work.
This check also helps distinguish a caulking problem from a larger shower problem. If the grout has cracks or missing sections, cleaning it will not fill those gaps. If there is a persistent odour, repeated cracking or mould that keeps returning, a surface repair may not answer the underlying question. The assessment should identify what the visible work can address and when further investigation is sensible.
2. Remove the old bead completely
The technician removes the old silicone from the joints being replaced, including material that remains stuck along the edges after the main bead lifts away. Care matters here: tile, glass, tubs and shower bases have different finishes, and the surrounding surfaces should not be damaged during removal.
A homeowner may see a long strip come free and assume the joint is ready. Usually, the less satisfying part comes next: finding and removing the remnants. That preparation gives the replacement bead a suitable surface to contact.
3. Clean, address accessible affected areas and dry
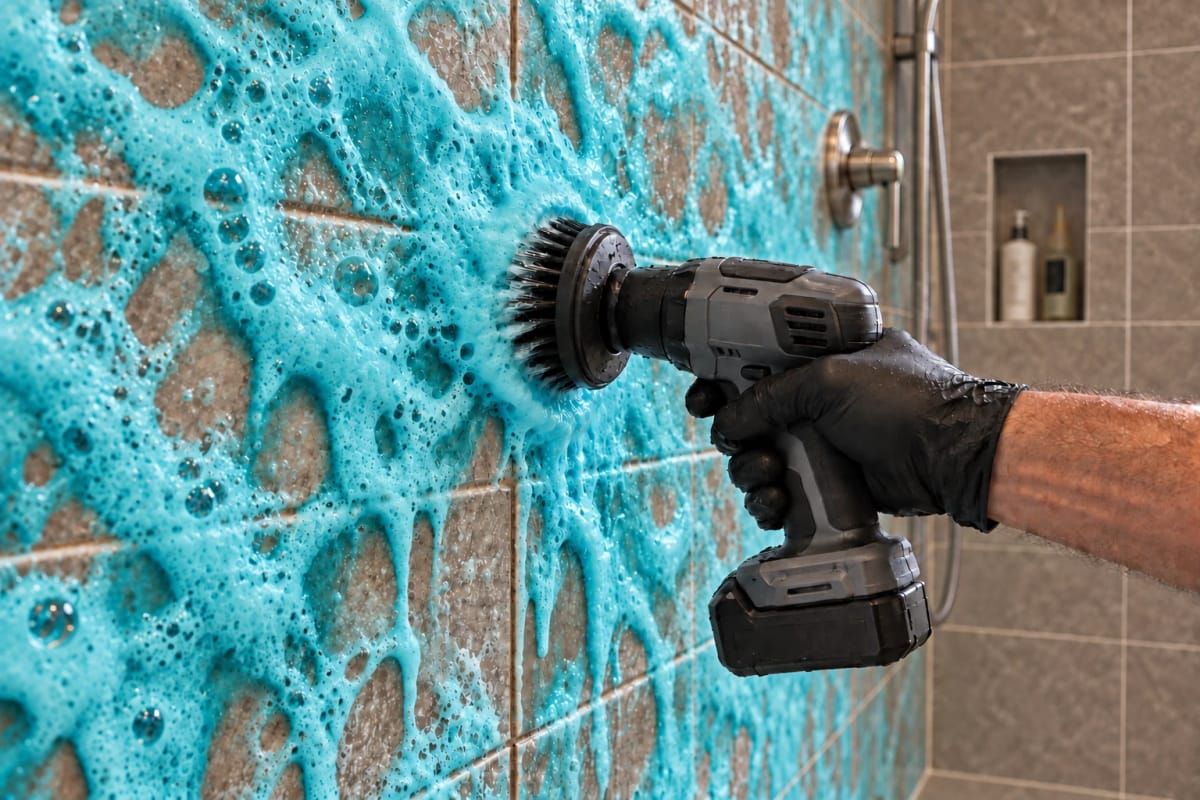
Once the joint is exposed, it can be cleaned of residue and buildup. Where appropriate, our surface-care process includes treatment of affected accessible areas before the final cleaning and rinsing stage. The joint then needs to dry before new material is applied. Caulking over a wet or contaminated joint defeats the purpose of taking the old bead out.
Surface treatment addresses what can be accessed. It does not establish that concealed mould has been removed or that a leak behind the tile has been repaired. If the exposed condition raises a concern beyond the agreed surface work, the sensible step is to address that concern rather than conceal it with silicone.
4. Apply and tool the replacement bead
After preparation, we apply waterproof, mildew-resistant caulking suited to the shower joint and tool it for a consistent finish. The aim is a neat bead with proper contact along the treated joint, not simply a brighter line around the tub.
The finish is what you see. The preparation is what you’re paying for. It is also why the scope should name the joints being replaced: a quote for one wall-to-tub joint is not the same as a quote covering corners, a shower-base perimeter and a niche.
5. Allow the caulk to cure before using the shower
Finished-looking caulk is not necessarily ready for water. Our shower-caulk replacement work is described as taking a few hours, with the shower typically reusable the next day, subject to the sealant’s specified cure. Follow the technician’s instruction for your job rather than assuming a bead is ready because its surface feels dry.
Is recaulking enough, or does the shower need more work?
If the tile and grout are sound and the trouble is limited to peeling, cracked, gapped or discoloured caulking, focused replacement may be the right scope. It can refresh the joint’s appearance and restore the seal at the treated locations without turning a small repair into an unnecessary full-shower project.
If the surrounding grout is cracked, missing or visibly deteriorated, the scope may also need grout repair. If soap scum, mineral buildup or widespread discolouration are drawing attention to the whole shower, deep cleaning or a combined restoration may make more sense. Our shower restoration can combine cleaning, treatment of affected accessible surfaces, grout repairs, colour sealing and replacement of failed caulking, depending on the condition.
- Caulking replacement: Removes and replaces failed material at the joints included in the scope.
- Shower deep cleaning: Addresses buildup on suitable surfaces when the grout and caulk are otherwise sound.
- Grout restoration: Addresses cracks, holes or missing grout, rather than expecting cleaning to repair them.
- Combined shower restoration: Brings the relevant cleaning, repairs, finishing and caulking work into one assessed scope.
These are not interchangeable fixes. Clear grout sealing, for example, is not shower waterproofing, and a new caulk bead is not a repair to the waterproofing behind tile. If you are weighing cleaning against repairs, our article on grout cleaning versus full restoration explains the distinction.
The same principle applies beyond the shower. A tiled bathroom floor with intact but dirty grout may benefit from cleaning; cracked or missing floor grout needs a different assessment. Getting the tile, floor grout and caulking work matched to their actual condition now can help avoid a cosmetic fix that leaves the original trouble in place.
What real recaulking projects show
Homeowners often ask whether a shower can look refreshed without replacing the tile. Sometimes it can, but the work behind the result matters. In a Google review, Cynthia C described Alexia’s work as “recaulking and deep clean of our bathroom” and said she appreciated the care taken to do a proper job. That was a combined cleaning and recaulking job, not evidence that a new bead alone produces the same result.
Another reviewer, Nick G, described a shower restoration in which the tiles shone, the grout was filled in and the shower was recaulked. His account is a useful reminder to compare scopes: the result involved grout work as well as caulking. And Francis Hsue described a main shower room that Gabriel cleaned, sealed and recaulked. The right recommendation depends on which of those conditions are present in your shower.
Reviews can show what completed work felt like to the homeowner. The assessment still has to answer what your joints, grout and tile need. Good tile may not need replacing simply because the caulk around it has reached the end of its useful life.
What should you ask before hiring someone to recaulk?
Whether you are considering a professional service or planning a small do-it-yourself repair, compare the actual preparation and limits of the work. Ask these questions before agreeing to a price:
- Which joints are included, and will the old caulk be removed completely from each one?
- How will remaining silicone residue and buildup be addressed?
- Will the exposed joint be cleaned and allowed to dry before recaulking?
- What happens if the technician finds cracked or missing grout nearby?
- Which caulking material is proposed for the treated area?
- What protection can the replacement joint provide, and what cannot it fix?
- How long must the shower stay dry after the work?
- What aftercare and workmanship-warranty details apply to the quoted scope?
A short, accessible joint may be manageable for a homeowner who can remove the old material carefully and prepare the surface correctly. A shower with multiple failed joints, difficult corners, damaged grout or recurring visible mould is a stronger case for a professional assessment. The question is not whether you can squeeze a caulking tube. It is whether the joint is ready for what comes out of it.
How long will assessment, scheduling and recaulking take?
The stages are separate. First, an assessment establishes whether the issue is limited to caulking and which joints need work. A free video quote or an on-site assessment may be appropriate, depending on the condition, location and appointment availability. Scheduling the assessment is not the same as booking the repair: the appointment details are confirmed through follow-up, then you can review the proposed scope and quote before deciding whether to proceed.
Once the work is scheduled, focused shower-caulk replacement generally takes a few hours. The amount of old material, the length and accessibility of the joints, and the condition uncovered during removal affect the work. If the assessment identifies a broader shower restoration, most residential showers are described as one-day jobs, followed by the relevant sealer and caulk curing. Those are different scopes, so do not assume they have the same schedule.
For caulking replacement, the shower is typically ready for use the next day, subject to the product-specific cure instruction your technician gives you. Arrange another bathing option if you need one during that dry period. Booking availability varies, so the confirmed appointment, not an assumed turnaround, is the date to plan around.
What will it cost, and what do you need to do?
There is no useful flat price for every recaulk. The quote depends on how many joints need replacement, their length and access, the state of the old caulk, the exposed joint condition and whether grout repair or cleaning is also proposed. A lower price for applying a bead over existing material is not a like-for-like comparison with complete removal and preparation.
To request an assessment, have your location, contact details, type of shower or tub, and a brief description of the affected joints ready. Mention gaps, recurring mould, odours, suspected leaks or earlier repairs. Photos of the full shower and close-ups of the failing caulk can help us prepare; photos do not always replace a video or on-site review.
After you make an enquiry, a team member follows up to arrange the suitable assessment and confirm the appointment details. Keep the shower accessible for that review so the joints and surrounding grout can be seen. The assessment answers, “What does my property need?” The quote then sets out the proposed work and cost, so you can decide with a clear scope. If you submit a written-quote request, treat it as a request for review and follow-up, not an instant exact price based on limited information. Keep your concern and photos in that first enquiry so you do not have to start your explanation again at the appointment.
Before the work appointment, remove bottles, caddies and other items that block access to the joints. We handle the agreed removal, joint preparation and new caulking. Afterward, keep the treated area dry for the specified cure time and follow the technician’s cleaning guidance. If a gap reappears, cracking recurs or a persistent odour remains, raise it rather than simply covering the joint again.
Best practices for a result worth keeping
- Match the service to the failure. Replace failed caulk; do not expect cleaning to reattach a separated bead or fresh caulk to fill missing grout.
- Judge the preparation, not just the finished line. Removal, cleaning and drying are essential parts of a caulking-replacement scope.
- Keep the limits clear. A new surface seal at a joint is valuable, but it does not repair hidden moisture damage or an underlying waterproofing failure.
- Protect the cure period. Wait for the job-specific return-to-use instruction before getting the shower wet.
- Watch for repeat symptoms. Recurring mould, cracking or odours can be a reason to investigate beyond the accessible surface.
A refreshed shower should be easier to feel good about using and maintaining. Getting the joint preparation right helps protect that result. Keeping an eye on the grout and surrounding tile helps you notice when the problem is no longer just caulk.
Frequently asked questions
Who removes all the old caulk before recaulking a shower?
A caulking-replacement technician should remove the old material from every joint included in the replacement scope. Team Grout’s shower-caulk replacement process includes complete old-silicone removal, preparation and drying before new caulk is installed.
Does every bit of old silicone residue matter?
Yes. The visible bead is not always all that remains. Thin residue along the edges can interfere with the new material’s contact with the joint surfaces, so complete removal includes addressing those remnants without damaging the surrounding finish.
Can I recaulk over mouldy or peeling silicone?
Do not cover a failed bead with a new layer. Mould embedded in old silicone generally calls for removal and replacement. Peeling or separated material also needs to come out so the exposed joint can be assessed, cleaned and dried.
Will new shower caulk stop a hidden leak?
New caulk seals the accessible joints treated in the job. It does not repair a hidden leak, remove concealed mould or replace failed waterproofing behind tile. Persistent odours or repeatedly failing joints deserve a closer look.
Do I need to replace the tile to replace the caulk?
Not when the tile and surrounding materials are sound and the problem is limited to the caulk. If the assessment identifies loose tile, damaged grout or another concern, the proposed scope should explain that separately.
How soon can I shower after professional recaulking?
Our caulking-replacement work takes a few hours, and the shower is typically reusable the next day. The exact return-to-use instruction depends on the sealant and the completed job, so follow the technician’s guidance.
Can photos tell you whether I need caulking replacement?
Photos can show peeling, gaps and the extent of visible discolouration. A close-up and a wider view are both useful. They may not show the condition under the old bead or reveal every grout issue, which is why a video or on-site assessment may still be needed.
What should a recaulking quote include?
It should make clear which joints are covered, whether complete old-caulk removal and joint preparation are included, what other work is proposed, the price and the curing instructions. Ask about exclusions and any applicable workmanship warranty before comparing it with another quote.
Get an answer before you pay for the wrong fix
If your shower caulk is peeling, gapped or repeatedly discoloured, the next step is to find out whether replacement is all it needs. Request a free video quote or on-site assessment, as appropriate for your location and the condition of the shower, by calling 289-277-0228 or emailing info@teamgrout.ca. Tell Team Grout which joints concern you and share photos if you have them. We’ll follow up about the assessment, then explain the proposed work and cost before you decide how to proceed.