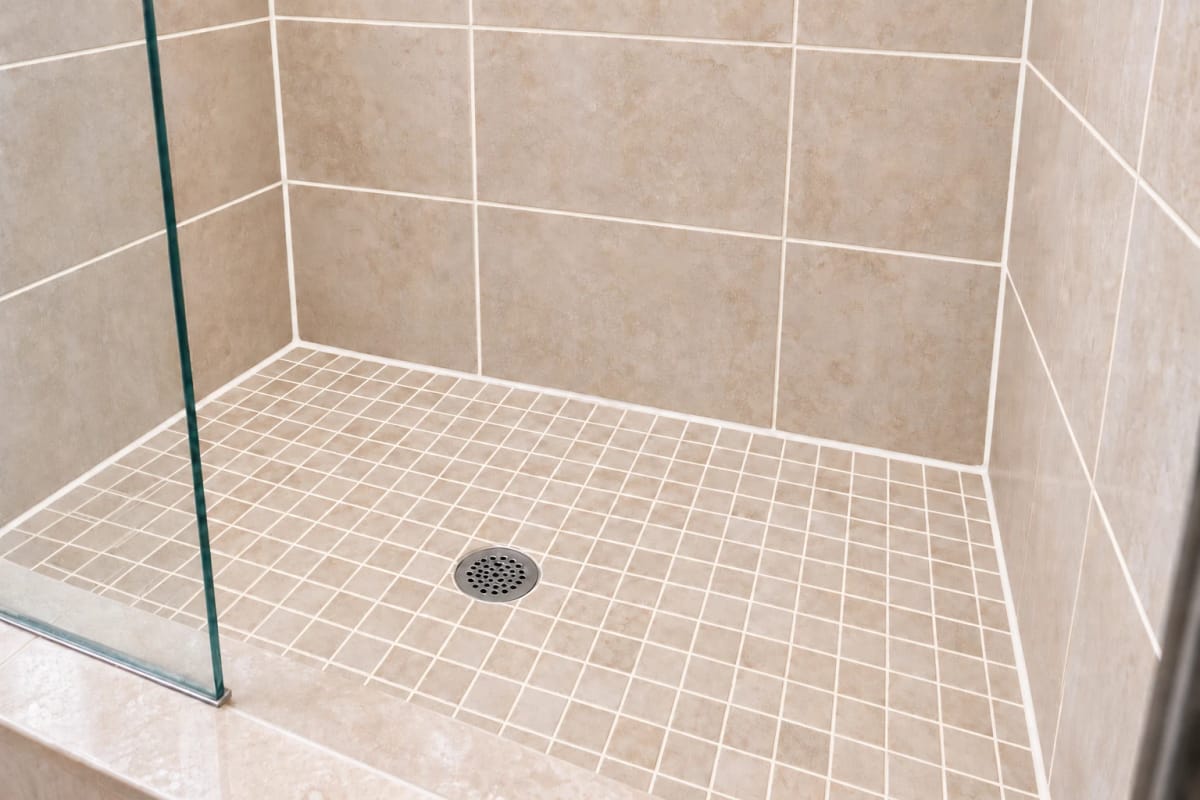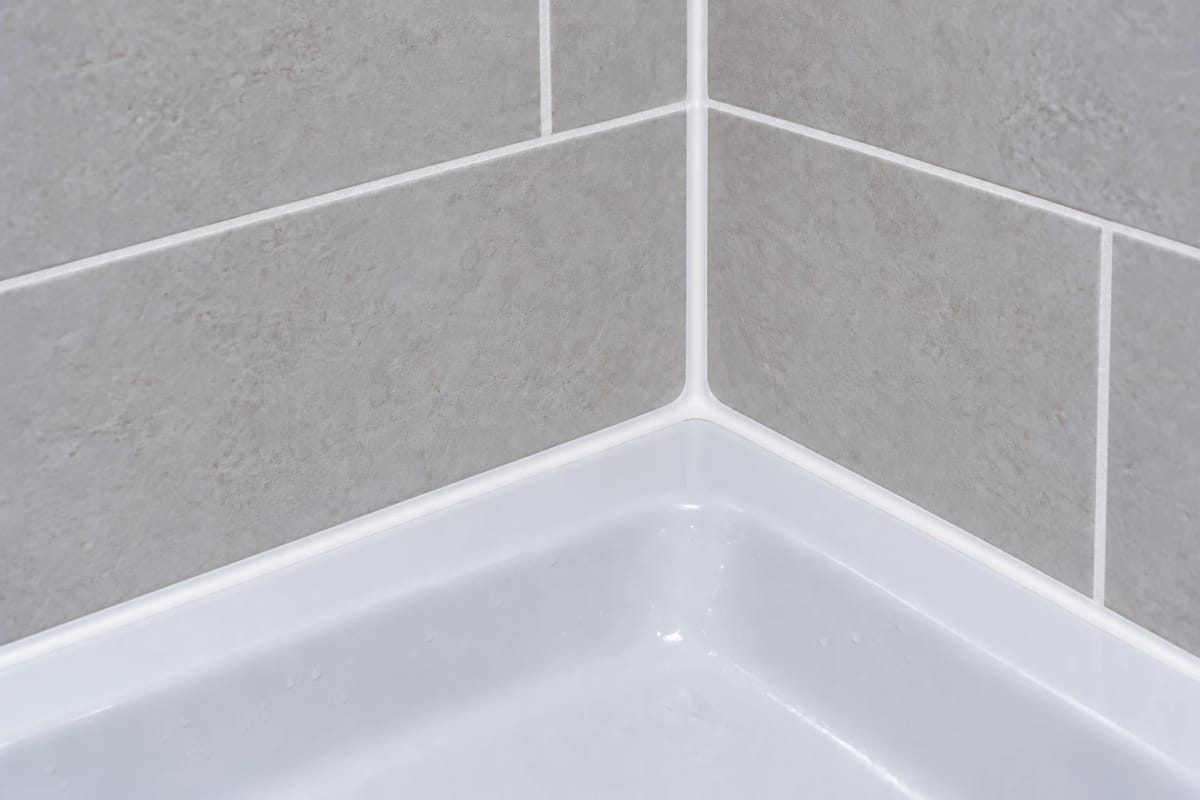
Shower caulking is failing when it cracks, pulls away, leaves a gap, develops staining that will not clean off, feels unusually soft, or repeatedly deteriorates. Water staining beyond the shower and a joint that fails again after replacement are two further warning signs. Check the corners, the wall-to-tub or wall-to-base joint, niches, ledges and any sealed glass-frame edges. If the bead no longer forms a continuous bond, cleaning it or covering it with fresh caulk will not restore that bond.
These signs do not, by themselves, prove that water has reached the wall or floor beneath the tile. They do tell you where a closer look is worthwhile. At Team Grout, we distinguish a failed surface joint from damaged grout, ordinary buildup and symptoms that call for investigation beyond surface work. That distinction can spare sound tile from unnecessary replacement while avoiding a cosmetic fix for a deeper problem.
In brief: Look for seven clues: cracks, lifting edges, visible gaps, embedded discolouration, a changed texture, water-related symptoms outside the shower, and repeat failure in the same spot. If the tile and grout are sound, replacing the failed caulking may be the focused answer. If grout is cracked, surfaces move, or moisture symptoms persist, assess the wider shower before choosing a repair.
What shower caulking does, and what it does not do
Caulking is the flexible sealant used at selected joints and transitions, such as where tiled walls meet a tub or shower base. Unlike the grout between tiles on a flat surface, it needs to accommodate some movement while maintaining contact with both sides of the joint. It also gives those exposed edges a finished appearance that is easier to keep clean.
A well-prepared, appropriately selected bead helps manage water at the joint. It is not a substitute for a properly built shower or its underlying waterproofing. Replacing visible caulk cannot fix a concealed plumbing leak, a failed shower assembly or hidden damage. That is why the question is not simply, “Can we make this line white again?” It is, “What has failed, and where is the water going?”
Check the joint after the shower has dried and the lighting is good. Look along both sides of the bead rather than only at its centre. You do not need to pull at it or dig into it to spot the common warning signs below.
1 Cracks or splits run through the bead
A fine line in the caulking can be easy to overlook, particularly at the bottom of a vertical corner. Look for cracks that run along the bead, splits where it changes direction and sections that appear torn rather than smoothly joined. A visible break means the bead is no longer continuous at that point.
Cracking can be associated with ageing, movement at the joint or a product that was not suitable for that application. Appearance alone will not tell you which cause applies. What matters immediately is that water can reach an opening that a sound bead would cover.
What to do: Note where the crack begins and ends, and check the adjoining grout and tile. If the same location has cracked before, tell the person assessing it. A quick smear over the line can hide the break without addressing the material beneath it.
2 An edge is peeling or separating
Sometimes the centre of the bead looks intact, but one edge has lifted from the tile, tub, base or frame. You may see a fine shadow line beside it or notice that a corner curls away. The difference between a continuous seal and a detached edge can be subtle, so look closely along the full length of the joint.
Separation is an adhesion problem. Residue from old caulking, soap buildup, an insufficiently dry surface or movement may contribute. From the outside, you cannot reliably identify the cause just by looking at the lifted spot. You can identify that the bead is no longer bonded there.
What to do: Do not press it back into place and assume it will stay. If you want to understand why complete removal matters before re-caulking, read our guide to removing old caulk before replacement. A fresh bead is not a fresh start if the failed caulk stays underneath.
3 There is a visible gap or missing section
Look along the wall-to-base and wall-to-tub joints, around corners and at the ends of ledges. A gap may appear as a dark opening, a section where the bead has receded, or a short stretch with no caulking left. Even an otherwise tidy bead does not seal an area it no longer covers.
A missing section can be straightforward to spot, but its cause may not be. The bead may have worn away or detached, or the joint may have changed. Pay attention if the gap is next to loose grout, shifting tile or a base that seems to move. Those clues change the scope of the assessment.
What to do: Record both a close-up and a wider view that identifies the joint. Avoid filling an unknown gap before checking what is behind and beside the visible opening. The sealant needs a properly prepared joint and suitable surfaces to bond to.
4 Dark discolouration appears embedded in the caulking
Soap residue and surface deposits can make a shower joint look worse than it is. If ordinary cleaning removes the mark and the bead remains firmly attached and continuous, the problem may be surface buildup. If dark staining appears to sit inside the material, remains after appropriate cleaning or repeatedly returns in the same damaged joint, replacement deserves consideration.
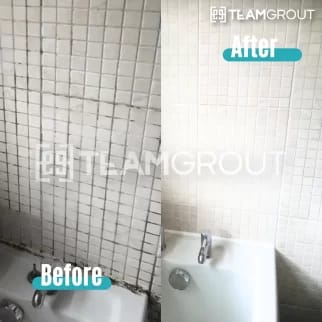
Old silicone with embedded mould-like staining generally cannot be restored by bleaching its surface. Cleaning may improve the surrounding tile, but it does not repair a crack or reattach a lifted edge. Our article on mould and shower caulking explains the difference between treating a surface mark and dealing with deteriorated material.
What to do: Inspect for cracks and separation as well as staining. Avoid mixing cleaning products in an effort to force the mark out. Persistent or recurring growth can also point to continuing moisture that should be considered during the assessment. A mould-resistant replacement bead helps at the surface; it cannot guarantee that mould will never return.
5 The bead feels unusually soft, sticky or loose
A cured shower bead should remain flexible, but it should not smear, feel persistently tacky or detach under gentle contact. A section that seems soft or unstable beside a visibly failed edge is worth noting. Do not use a sharp tool to test it: damaging a sound portion would create a new problem rather than answer the question.
Texture alone does not establish why a bead has changed. Product choice, previous application, repeated moisture exposure and cleaning history may all be relevant. What you can determine without dismantling anything is whether the line appears consistent and firmly attached throughout.
What to do: Stop applying new layers over a suspect section. Have the joint and adjacent materials assessed before deciding whether the work is limited to caulking replacement. If the surrounding grout is crumbling or the tile moves, include those observations when you request the review.
6 You see water-related symptoms outside the shower
Staining on nearby trim, swollen material beside the tub, dampness outside the enclosure, a persistent musty odour or a mark on the ceiling below deserves prompt attention. These clues are different from a dirty caulk line. They suggest that water may be reaching places it should not, although they do not identify the route.
Failed caulking is one possibility. A door or glass edge, plumbing connection, drain, shower base or underlying waterproofing problem could also be involved. A visible gap and a nearby stain may be related, but treating that relationship as certain can lead to the wrong repair.
When to look beyond re-caulking: Soft flooring or walls, loose tile, repeated staining or a continuing odour warrant further investigation of the moisture source. Surface cleaning and a new bead cannot repair concealed damage. If an area is actively getting wet outside the shower, avoid using that shower until the source has been assessed.
7 The same joint keeps failing after replacement
If a corner or tub edge peels or cracks again, ask why that particular joint is not holding. Incomplete removal of old material, residue, insufficient drying, inappropriate sealant or movement at the joint may be part of the story. A repeating pattern may also signal a problem that surface work cannot resolve.
This is where the details of a quote matter. “Re-caulking the shower” can describe very different work. Does the scope include complete removal of the failed bead, preparation of the exposed joint, suitable cleaning and drying, an appropriate replacement material, and clear curing instructions? Two quotes. Same service name. Very different work underneath.
What to do: Tell the assessor when and where the previous repair failed, if you know. Ask whether adjacent grout, the base or tile movement changes the recommendation. Repeating a cosmetic application without addressing the reason for failure is unlikely to give you the clarity you need.
What do the signs mean for your next decision?
The most useful distinction is between a sound shower with failed caulk, a shower with additional surface damage and a shower showing possible moisture trouble beyond the visible surfaces. The same dark line can sit beside perfectly sound grout in one bathroom and cracked, missing grout in another. Those are different jobs.
| What you find | What may be appropriate | What still needs checking |
|---|---|---|
| Failed caulking; adjacent tile and grout appear sound | Focused removal and replacement of the specified joints | Joint condition, preparation, material and curing needs |
| Failed caulking plus soap scum or mineral buildup | Replacement with suitable surface cleaning where needed | Whether buildup hides grout damage or joint separation |
| Failed caulking plus cracked or missing grout | Assessment for combined grout repair and shower restoration | Extent of grout damage and whether tile remains sound |
| Staining outside the shower, soft materials or repeat failure | Investigation of the moisture source before relying on surface repairs | Plumbing, movement and the underlying shower assembly |
Deep cleaning is useful when the surface is dirty but sound. It cannot rebuild damaged grout or make detached silicone adhere again. Clear penetrating sealer and grout colour sealer can be useful on compatible surfaces for their distinct purposes, but neither replaces caulking or repairs an underlying waterproofing failure. If your grout also looks damaged, our cleaning versus grout restoration guide helps explain that decision.
How proper caulking replacement works
The finish is what you see. The preparation is what determines whether that finish has a sound surface to hold onto. For a suitable shower, our caulking replacement process follows a practical sequence rather than applying new material over the old line.
- Assess the joints. Identify which corners, tub or base edges, niches, ledges or glass-frame gaps need attention. Check for visible grout damage and symptoms that may change the scope.
- Remove the failed caulking completely. Leaving loose silicone or old residue under the new bead can compromise its bond. Removal also exposes the joint so its condition can be reviewed.
- Prepare the exposed surfaces. Scrape and clean the specified joints, address accessible affected areas as appropriate, and allow the area to dry. Treatment of accessible surfaces is not a claim to have treated hidden spaces behind tile.
- Apply and finish the new bead. Use an appropriate waterproof, mildew-resistant caulking material and tool it to form a consistent finish at the specified joint.
- Explain the aftercare. The technician provides the relevant curing and return-to-use instructions for the material and work performed. Keep the new bead dry for that period rather than guessing from how it looks.
Where the shower needs more than re-caulking, the scope may also include deep cleaning, repairs to missing or damaged grout, and suitable grout finishing. Tile can generally remain in place when it is structurally sound. The aim is a refreshed appearance and appropriate care for the existing surfaces, not an automatic recommendation to replace them.
What results can homeowners reasonably expect?
A well-scoped caulking replacement can remove a discoloured or detached bead, give the exposed joint a clean new finish and restore the intended surface seal at the joints treated. Combined restoration can also address buildup and damaged grout where appropriate. The appearance can change substantially without removing sound tile, but the exact result depends on what is causing the deterioration.
Real customer experiences illustrate why scope matters. In a Google review, Francis Hsue described work on a main shower that included cleaning, sealing and re-caulking. That is a combined job, not an example of caulking alone fixing every shower concern. Another customer, Nick G, described a shower restoration in which the tile was refreshed, grout was filled and the shower was re-caulked. Their experiences show how the work can differ when grout and surface buildup are part of the problem.
“Alexia did a great job with recaulking and deep clean of our bathroom! Grateful she took the care to do a proper job!”
Cynthia C, Google review
Those results are a reason to assess the actual surfaces, not a promise that a bead alone resolves every leak. If there is a hidden moisture source, the appropriate next move is to find it. You do not need to learn all the technical terms. You need to know what the proposed work will do, and what it will not do.
How long will assessment, work and curing take?
For a focused caulking replacement, the work itself is generally described as taking a few hours. A shower is typically reusable the next day, subject to the selected sealant’s curing instructions and the technician’s guidance. Curing is part of the job, not an optional wait you can skip because the bead looks dry.
If the assessment points to full shower restoration, most residential showers are described as one-day work, followed by curing of the relevant caulk or sealer. The technician should give you the actual return-to-use time for your treatment. Work duration and cure time are two separate questions, especially if grout repair or sealing is included.
Scheduling depends on suitability, location and availability. The first step is an enquiry and assessment arrangement, not an automatically confirmed work appointment. Once the team reviews your details, they can confirm whether a free video quote or an on-site assessment makes sense and arrange the appointment with you. The assessment establishes what the property needs; the resulting quote sets out the proposed work and cost before you decide.
What does it cost, and what do you have to do?
There is no useful single price for every shower. The number and length of joints, ease of access, amount of old material to remove and condition beneath it affect the scope. So do additional needs such as grout repair, surface cleaning or a broader restoration. A quote should identify the joints included, the preparation and treatment proposed, any separate grout work, and the curing instructions. Compare those details as well as the price.
To make the first review useful, have the following ready:
- Your name and contact details, location, and a brief description of where the caulking is failing.
- A close-up of a problem joint and a wider photo showing its location, if you have them. You can submit up to five photos for a caulking enquiry.
- Any relevant history: previous re-caulking, repeat staining, cracked grout, loose tile or water noticed outside the shower.
- Your availability for a video discussion or an on-site visit, if one is suitable.
Photos help the team prepare and may clarify what to examine. They do not always replace a video or on-site review, especially when the concern involves movement or possible water damage. A written-quote request starts a review and follow-up; it is not a promise of an instant exact price from a few images.
Before the work appointment, clear toiletries, mats and other personal items from the shower and nearby area so the joints are accessible. We handle the agreed removal, preparation, replacement and cleanup of the work area. Afterwards, follow the technician’s specific keep-dry and cleaning guidance. Once the shower is back in use, keep an eye on previously troublesome joints and address persistent moisture or ventilation concerns rather than waiting for a new stain to become the reminder.
Before you approve a quote, ask: Which joints are included? Will old caulk be fully removed? Are exposed joints cleaned and dried? Is damaged grout part of this scope or separate? When can I use the shower again? What symptoms would make surface work insufficient? These questions make it much easier to compare the work rather than just the service name.
Best practices that help a repaired shower stay in good shape
- Inspect the whole wet area, not only the most visible corner. Check vertical corners, the shower base or tub perimeter, niches, ledges and relevant frame edges. The floor transition matters just as much as the wall that catches your eye.
- Keep cleaning and repair in separate categories. Buildup on sound tile and grout may call for cleaning. Cracked grout and separated caulk require different work. A cleaner cannot bridge a physical gap.
- Do not coat over failed material. Remove deteriorated caulk, prepare the joint and let it dry before applying a compatible new bead. A tidy line over an unstable one is still an unstable repair.
- Follow the job-specific curing instructions. Caulking and grout sealers are different products with different return-to-use requirements. Ask before the technician leaves rather than testing the shower early.
- Notice recurring clues. Repeated mould-like staining, odours, cracking or moisture outside the enclosure can signal a need for investigation beyond accessible surface treatment.
- Think about the whole installation. A good-looking bead cannot compensate for moving tile, damaged grout or a poorly functioning shower base. Getting the tile, floor transitions and caulking right together helps avoid repeat trouble.
Frequently asked questions about failing shower caulking
Should I replace caulking if it is stained but not cracked?
First check whether the mark is on the surface and whether the bead remains firmly bonded. If discolouration is embedded, repeatedly returns or accompanies separation, replacement may be more useful than further cleaning. Staining alone does not identify hidden moisture damage.
Can I put new caulk over the old shower caulk?
That does not address a failed bond and can cover contamination or moisture. For a proper replacement, remove the old caulking from the affected joint, prepare and dry the exposed surfaces, then apply the appropriate new material.
Does mould on caulking mean there is mould behind my tile?
No. A visible mark cannot establish what is behind the tile. Embedded staining may justify replacing old silicone and treating accessible affected surfaces. Persistent odours, recurring growth or signs of water beyond the shower call for a closer investigation of the moisture source.
Is grout the same as shower caulking?
No. Grout fills joints between tiles, while flexible caulking is used at selected transitions and corners. Cleaning intact grout, repairing cracked grout and replacing failed caulk are different tasks. A shower can need one of them or a combination.
How soon can I shower after re-caulking?
For our focused shower caulking replacement, the shower is typically reusable the next day, subject to the specific sealant and the technician’s instructions. If the job also includes restoration or sealing, follow the return-to-use guidance for the entire scope, not just the caulk.
Do I need a full shower restoration for one peeling corner?
Not necessarily. If neighbouring tile and grout are sound and there are no wider moisture concerns, focused caulking replacement may be sufficient. An assessment separates that situation from one that also needs grout repair, cleaning or investigation.
Can photos tell you exactly what my shower needs?
Photos can show which joints concern you and help prepare for a discussion. They may not show whether the joint is wet, whether tile moves or what is happening behind the visible surface. A video or on-site assessment may be needed before the scope and price can be settled.
Find out whether re-caulking is enough
Cracks, lifting edges, gaps, embedded staining and repeat failures are reasons to assess the joint, not automatic reasons to replace the bathroom. If the surrounding tile is sound, a focused repair may give you a cleaner finish and a properly renewed surface joint. If the grout or floor transition is also deteriorating, it is better to find that out before installing a new bead.
Your next step: Request a free video quote or on-site assessment with Team Grout, depending on your shower, location and appointment availability. Tell us which joints concern you and send photos if helpful. We will review the enquiry, follow up to arrange and confirm a suitable assessment, then explain what work we propose and what it will cost. That gives you an answer about your shower before you commit to the wrong fix.